How do I install campus-licensed software on a computer running OSX?
This article describes how to self-install campus-licensed software on supported computers running OSX. For instructions on installing campus-licensed software on supported computers running Windows, please see How do I install campus-licensed software on a computer running Windows? .
Requirements:
To perform self-installs, you must be using a computer that is:
- Running Mac OSX
- Supported by ITServices [has an Asset or Service tag]
- Running the JAMF Casper Agent
- Connected to the campus wired or wireless network
Instructions:
Before you begin, connect to the campus wired or wireless network. If you connect to the wired network, your installations will go substantially quicker.
- Click the Spotlight Icon located in the upper right hand corner of your screen.
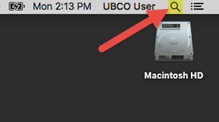
- Type self into the Spotlight search box that appears.

-
Spotlight will search and display the Self Service application at the top of the results list. Double-click the Self Service application as shown in the image below:
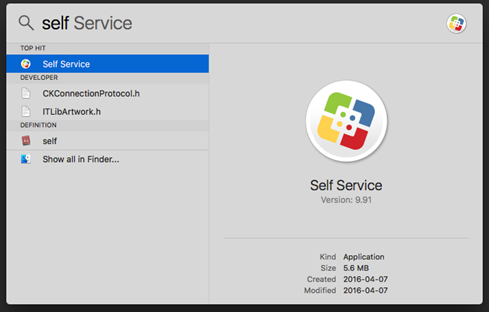
If, at this point, you do not see the Self Service application in your Spotlight search results, your computer is not configured for self-installation. You can submit a ticket through the helpdesk to have a technician perform the installation of your software, and configure your machine so that you can self-install campus licensed software in the future.
-
The Self Service application will load and present you with the Self Service window, similar to the one shown below.

- Most software licensed at the Okanagan campus will be found under the UBC Okanagan category on the right side of the application. Optionally, you can use the Search field in the upper right hand corner to search for the software you want to install.
- Click the Install button next to the software you want to install to begin the installation procedure.
Software installation may take up to 30 minutes with larger applications.
WarningInstallations must be run consecutively, not concurrently. If you run concurrent installs, OSX will cancel the second install and display an error message. This does not break anything - you can retry the install when the first install is completed.
- When finished performing installations, close the Self Service application.
