How do I connect to an Okanagan campus network file storage share?
Follow these instructions to connect to an Okanagan campus network file storage share.
Requirements:
To connect to an Okanagan campus network file storage share, you must be using a computer that is connected to the campus network. This can be any of the following:
- Campus wired network
- Campus ubcsecure or ubcoprivate wireless networks
- UBC VPN
Instructions:
Windows [Fully Supported]
All fully supported Windows workstations will automatically mount standard campus network file shares during the login process. These shares will appear as additional drive letters on your computer.
You can manually login as follows:
- Windows 7 - Go to Start > All Programs > Accessories > Novell Login
- Windows 10 - Go to Start > All apps > Windows Accessories > Novell Login
Windows [Self Service]
- Windows 7 - In Windows Explorer, right click on Computer and select Map network drive...
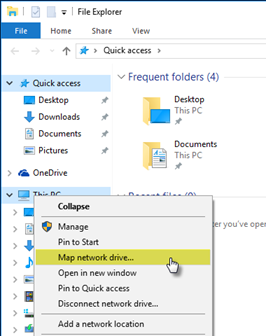
Windows 10 - In Windows Explorer, right click on This PC and select Map network drive...
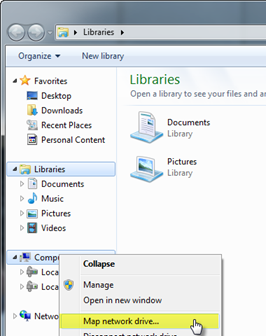
Windows 7
Windows 10
- Choose a drive letter and, in the Folder field, enter \\ followed by the server and share information, separated by a back slash "\", from the following article: List of Okanagan campus file storage shares
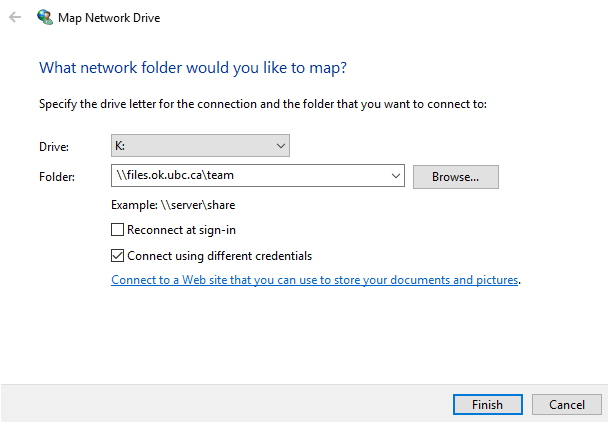
- Click Finish to complete the connection.
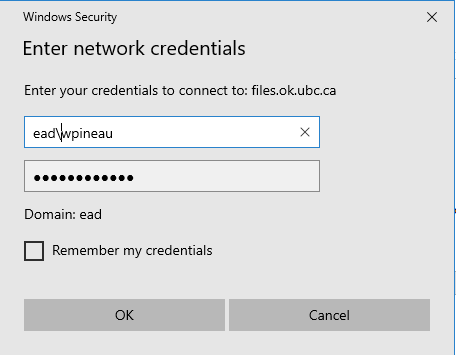
- Type in your ead\CWL credentials to logon
OSX [Fully Supported]
All fully supported OSX workstations can use the UBCO Drive Mount app to automatically mount standard campus network file shares on your desktop. The app can be found on your Dock, and will look like one of the two following icons:
 |
 |
|
New Icon |
Old Icon |
OSX [Self Service]
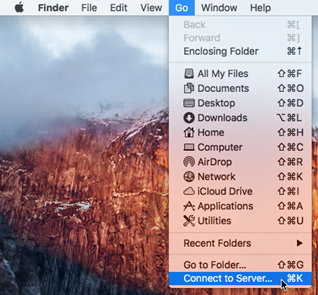
- From the Finder , select Go > Connect to Server .
- Enter smb:// , followed by the server and share information, separated by a forward slash "/", from the following article: List of Okanagan campus file storage shares
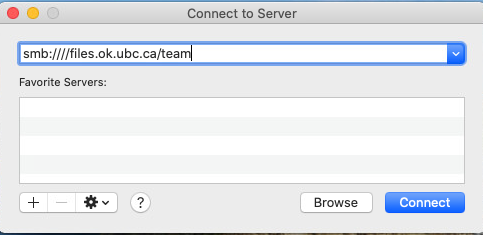
- Click Connect to complete the connection.
Other [Self Service]
Nearly any computer that can connect to a SMB or CIFS share can connect to the Okanagan campus network file storage shares. Use the documentation for your operating system along with the information in the following article to connect: List of Okanagan campus file storage shares
