ID Works Setup for UBCO Overview
Datacard ID Works is the desktop application used to create, issue, and print UBCcards. The ID Works app utilizes different project templates, called "Projects", to reference different card types. These Project files connect to separate databases on the back-end, depending on the type of card being produced (e.g. Student, Employee).
The setup of the application is a bit different on UBCO workstations, with the main differences being the database they connect to and the location of the project files.
Pre-Requisites:
i. The application installers reside within the UBCV Parking Services Teamshare. A ServiceNow ticket can be submitted (https://it.ubc.ca/got-question-about-it-products-and-support) to request a copy of the files
ii. The workstation will need a static or DHCP-reserved IP address, so it can be authorized access to the Oracle database residing on bis-oracard-prd.bis.it.ubc.ca, which is behind the firewall managed by UBC IT BIS.
iii. The account used to complete the setup needs to have local administrator access to the workstation
iv. “UBCO ID Works files.zip”, which contains a couple Oracle .ORA files and a .INI file for importing into the registry
v. The end user has access to network share where ID Works project templates reside (K:\)
Setup Instructions
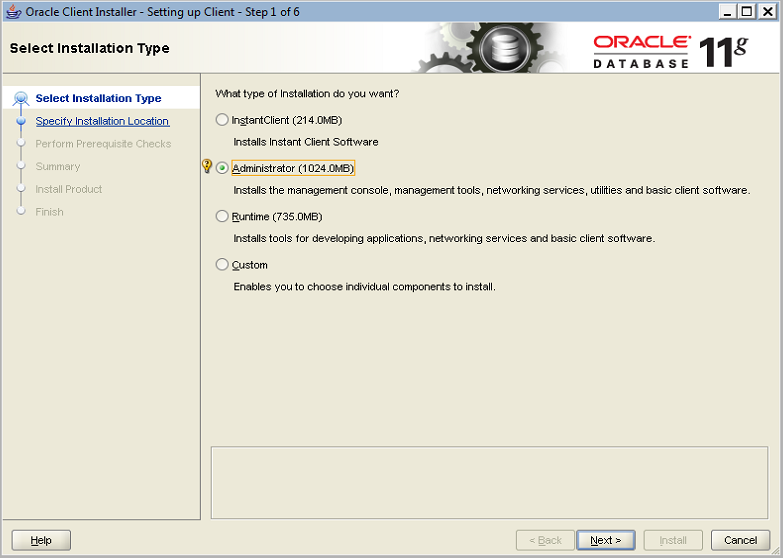
Install Oracle Client 11GR2.
1. The installer resides within the UBCV Parking Services Teamshare. Run “setup.exe” within the following directory: \\files.ubc.ca\team\PASS\UBC IT\! Current\2 - Oracle\p10404530_112030_WINNT_3of6\client Choose Administrator Installation

2. Choose Skip Software Updates
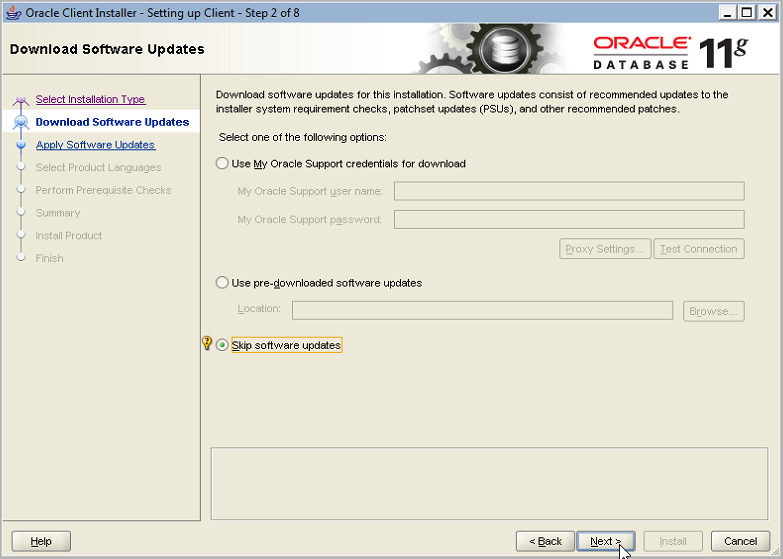
If the following error pops up, just click Yes to continue

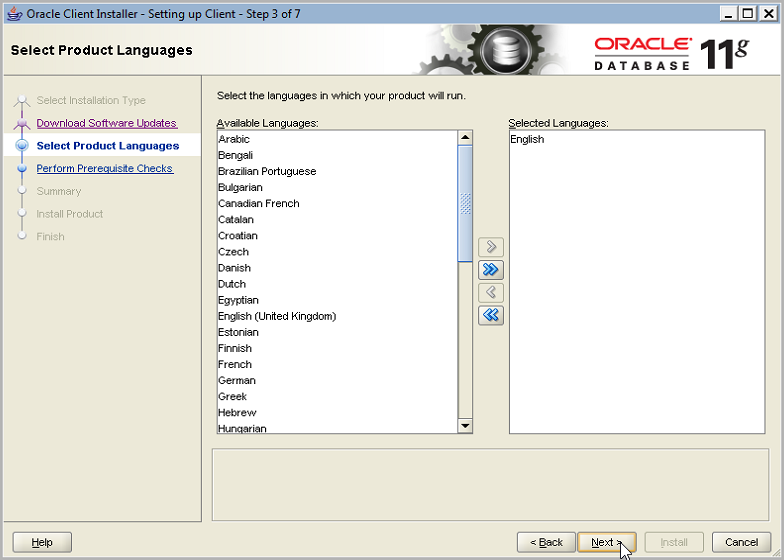
3. Keep English as selected Language
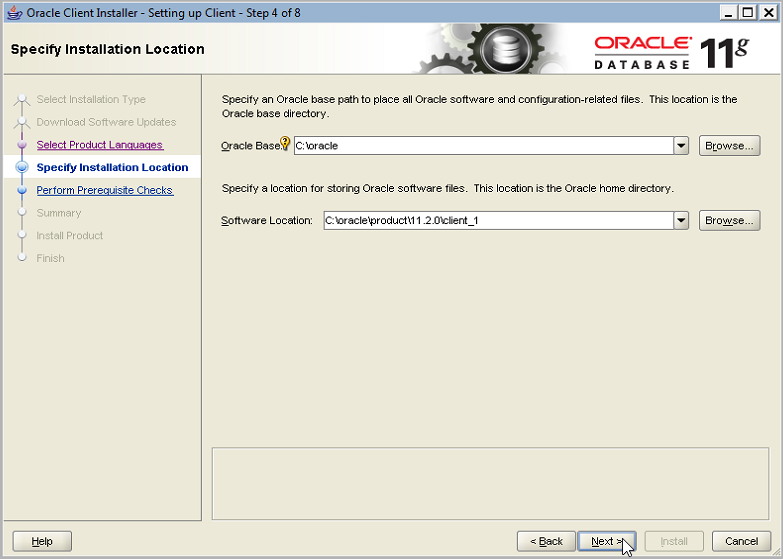
4. For UBCO, change the Oracle Base directory to C:\app
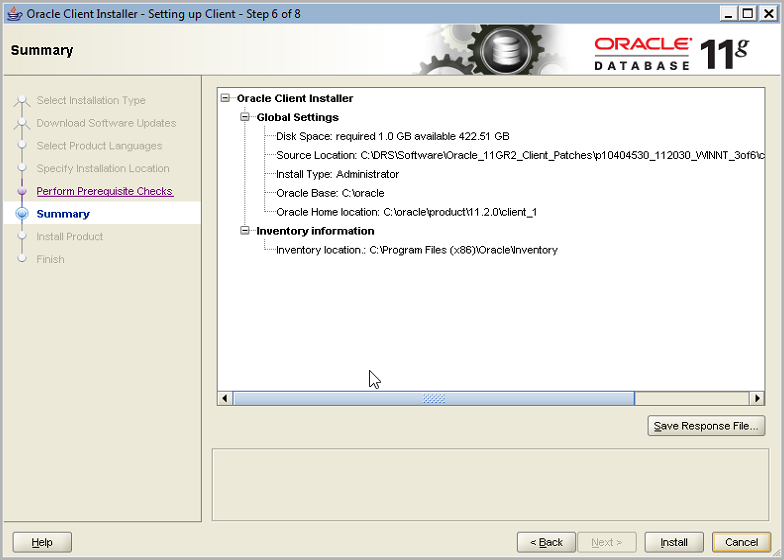
5. Review settings and proceed with Install
6. Copy the contents of the following folder: \\files.ubc.ca\team\PASS\UBC IT\! Current\2 - Oracle\OPatch_11.2.0.1.9
into C:\app\product\11.2.0\client_1\OPatch
7. Copy the following folder: \\files.ubc.ca\team\PASS\UBC IT\! Current\2 - Oracle\p16803774_112030_WINNT (patch 22) into C:\Windows\temp
8. Patch Oracle by launching Command Prompt as Administrator and running the following commands:
Set ORACLE_HOME=C:\app\product\11.2.0\client_1
Set Path=%PATH%;C:\app\product\11.2.0\client_1\OPatch
CD C:\Windows\temp\
CD “p16803774_112030_WINNT (patch 22)\16803774”
opatch apply
If the last command fails or errors out, you may need to copy the opatch folder within UBCO ID Works files.zip into c:\app\product\11.2.0\client_1\cfgtoollogs first, the run the last command again.
When prompted for email address/user name, type in a random email address and press Enter
When prompted for password (optional), just press Enter
If prompted for URL and/or Proxy, just type in NONE and press Enter
When prompted if local system is ready for patching, type “y” (without quotes) and press Enter
9. Copy sqlnet.ora and TNSNAMES.ORA from within UBCO ID Works files.zip
into c:\app\product\11.2.0\client_1\network\admin, overwrite any existing files
10. Double-click odbc.ini.reg from within UBCO ID Works files.zip to import its content into the registry. This will auto-create all the ODBC System DSN’s.
Install ID Works
Please ensure that you have a ID Works USB dongle handy in order to complete this setup.
1. The installer resides within the UBCV Parking Services Teamshare. Run “setup.exe” within the following directory: \\files.ubc.ca\team\PASS\UBC IT\! Current\6 - ID Works\ID Works 6.0
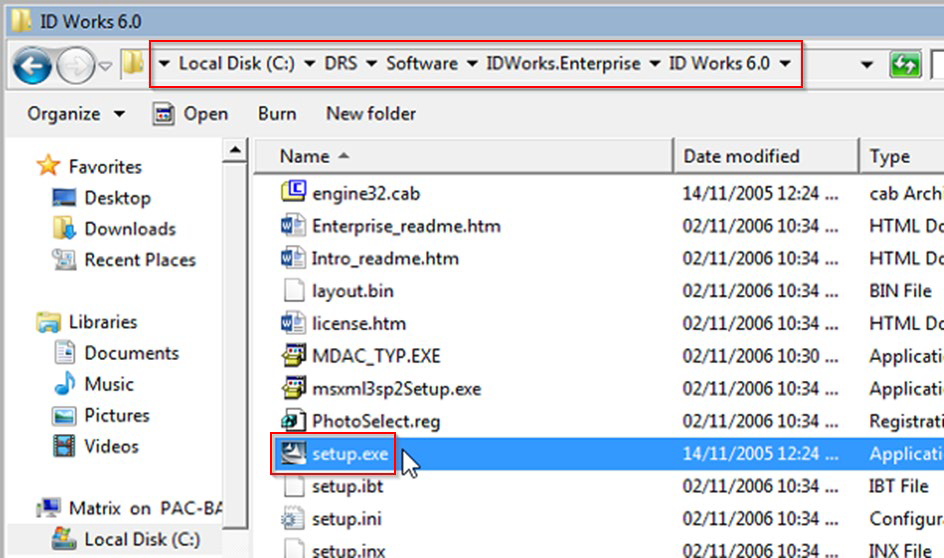
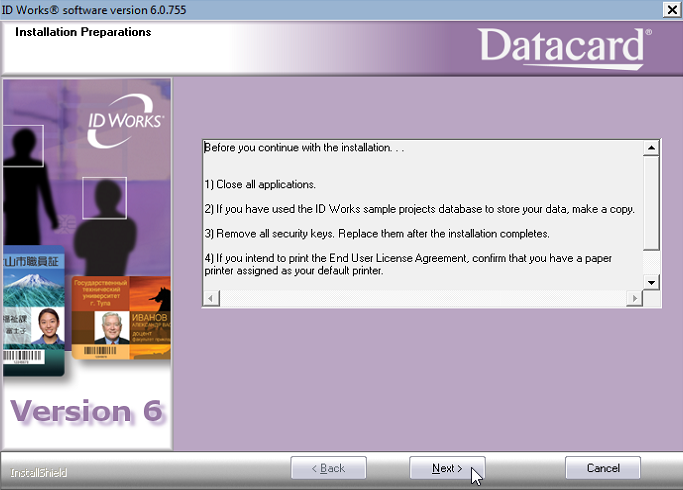
2. Follow the instructions accordingly
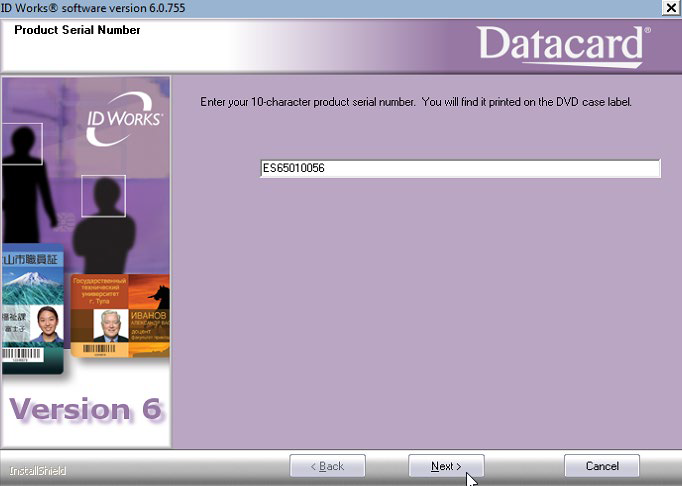
3. Enter ES65010056 as the product serial number
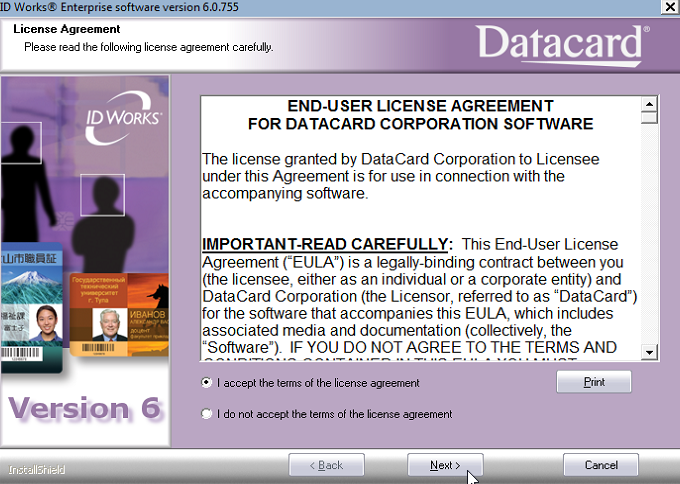
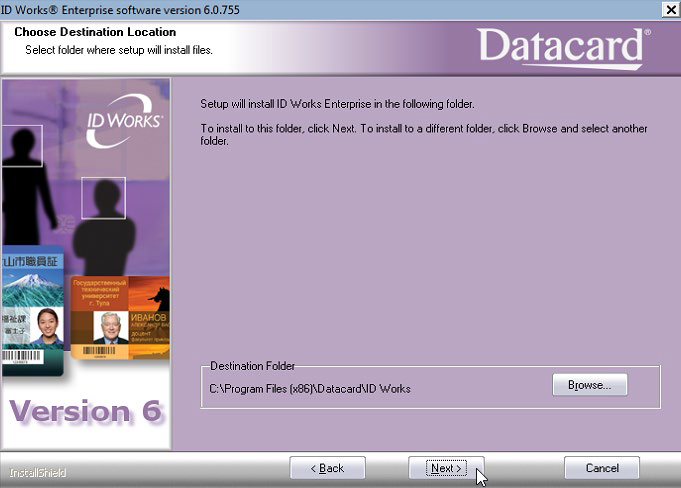
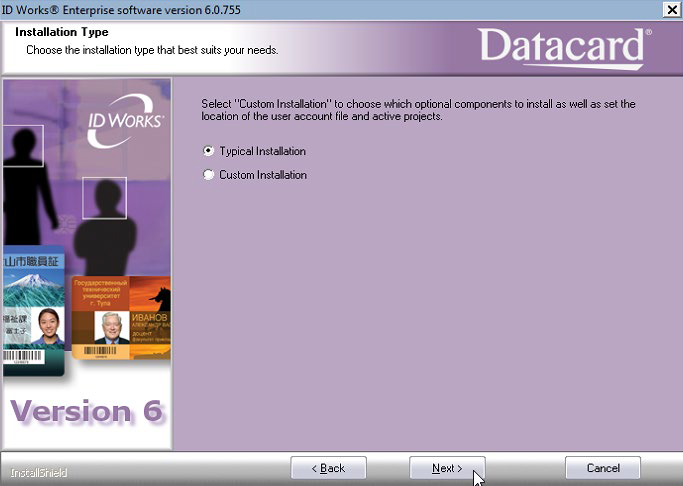
4. Choose Typical Installation
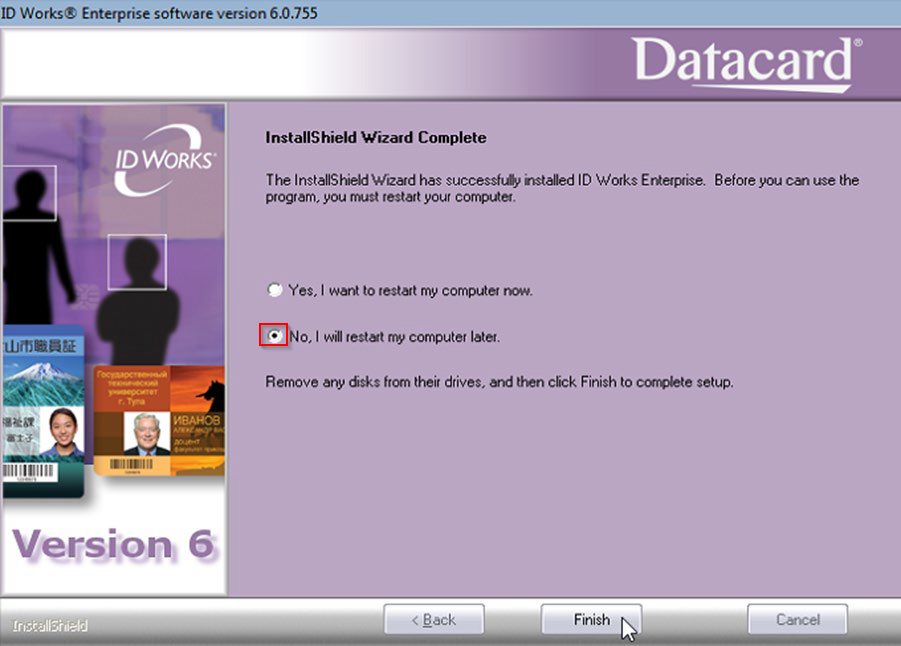
5. Choose to restart computer later and proceed with installation
6. Upgrade ID Works to 6.5 by running the installer found within \\files.ubc.ca\team\PASS\UBC IT\! Current\6 - ID Works\ID Works 6.5 upgrade
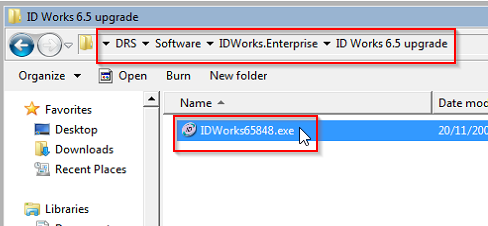
7. Confirm and proceed with Setup
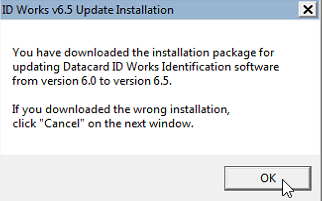
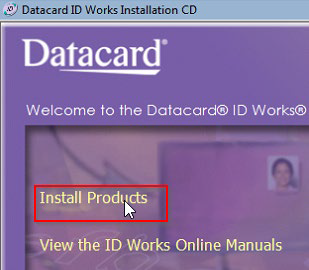
8. When installation menu appears, choose Install Products
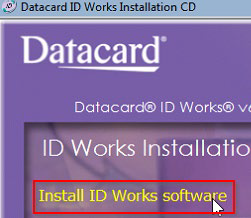
9. Click on Install ID Works software
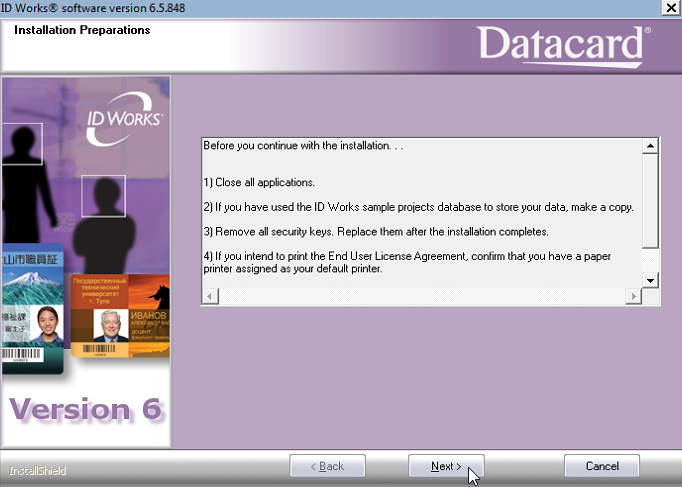
10. Follow the instructions accordingly
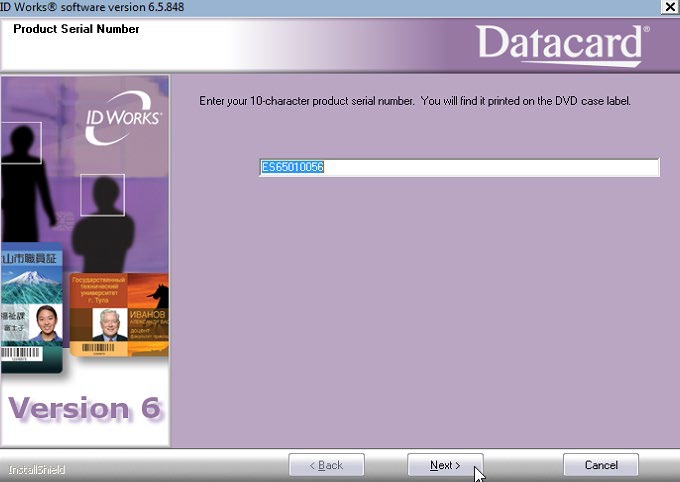
11. Enter ES65010056 as the product serial number
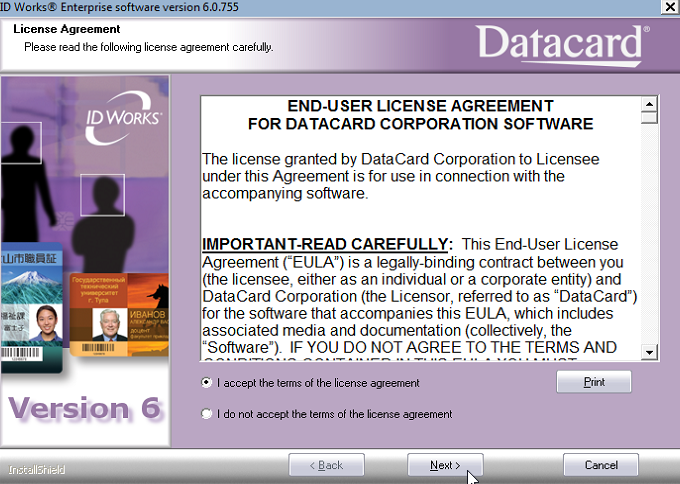
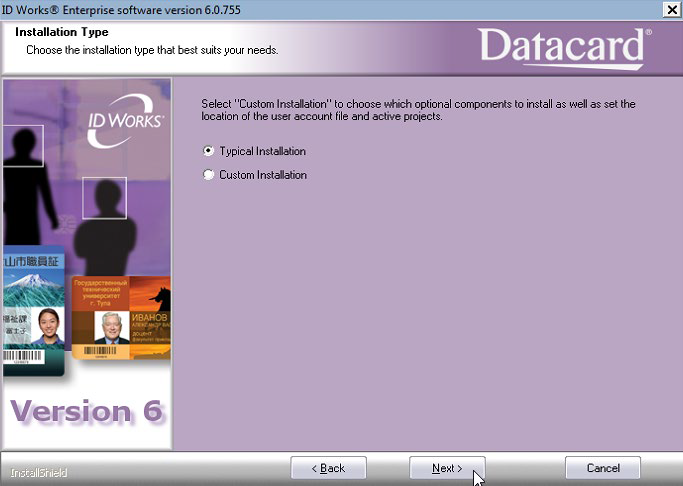
12. Choose Typical Installation
13. Choose to restart computer now
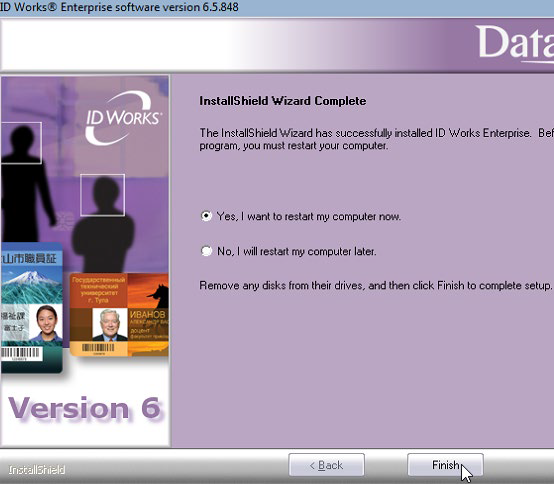
14. After ID Works 6.5 has been installed, uninstall Sentinel Protection 7.3 and restart computer
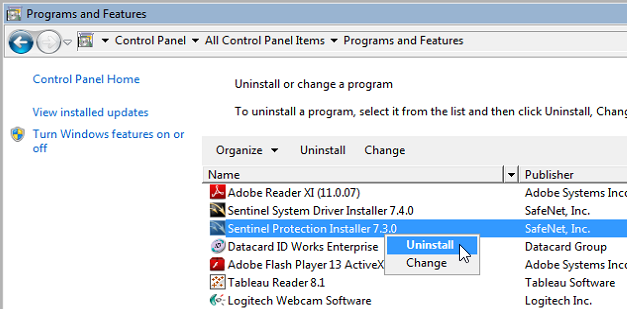
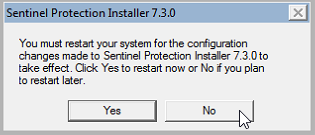
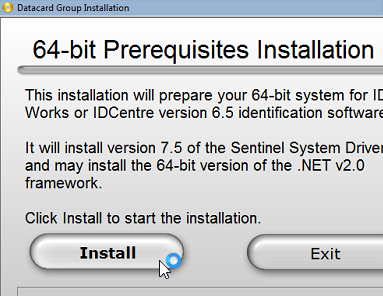
15. After restart, install Sentinel Protection 7.5 from installer found within the UBCV Parking Services Teamshare:
\\files.ubc.ca\team\PASS\UBC IT\! Current\6 - ID Works

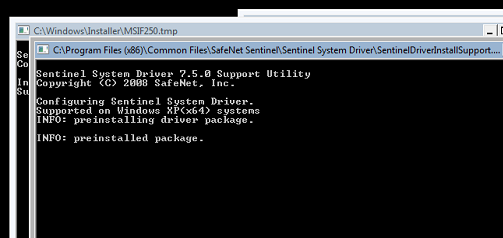
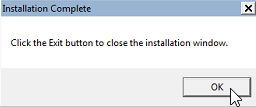
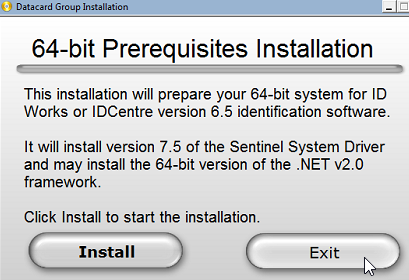
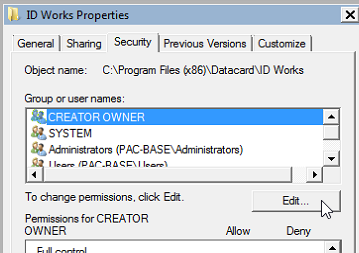
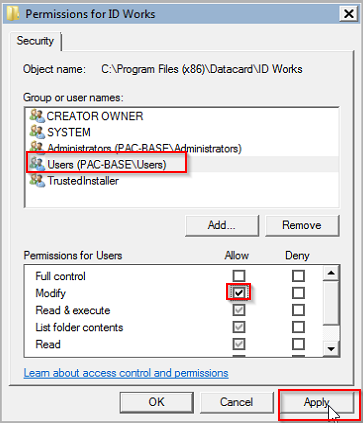
16. Update the permissions to the folder C:\Program Files (x860\Datacard\ID Works so that local users have Modify access to it
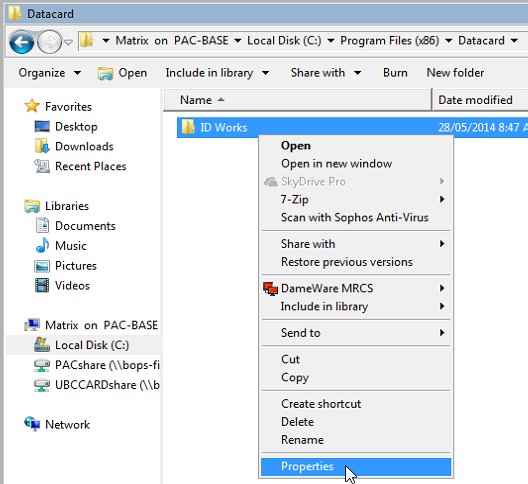
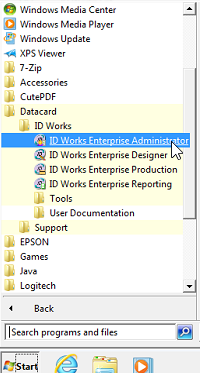
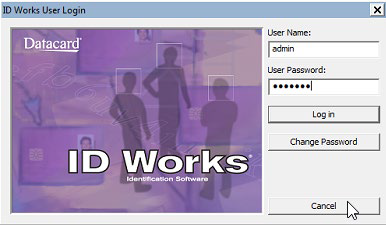
17. Launch ID Works Enterprise Administrator and log in
18. Go to System > Set System Paths
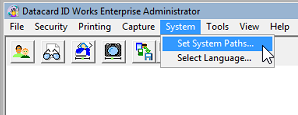
and update the Project Path to the following directory: K:\ADM\AVP Students\Shared\Student Services\Photo ID\IDWorks\Projects

Click OK and Exit out of ID Works Enterprise Administrator *NOTE* K:\i is where ID Works project templates reside for UBCO

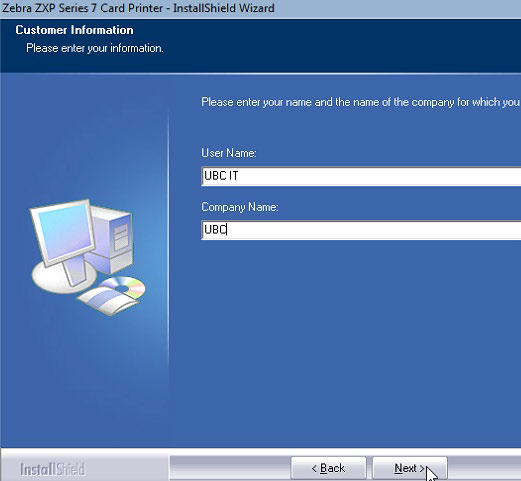
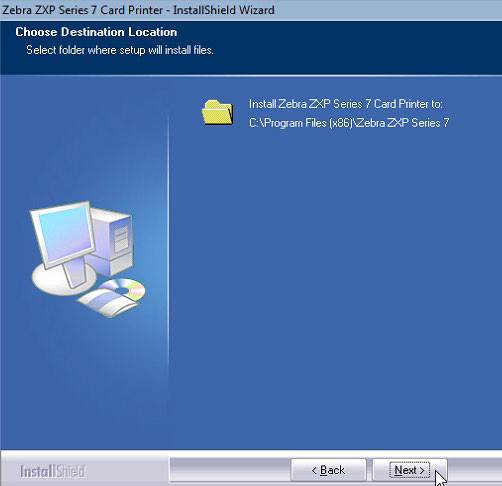
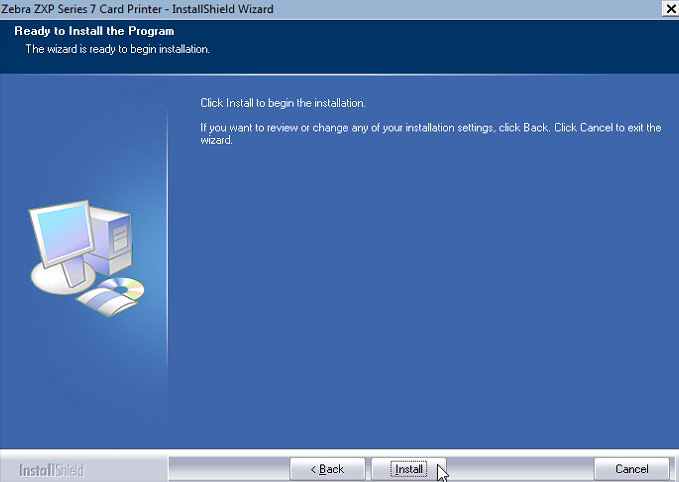
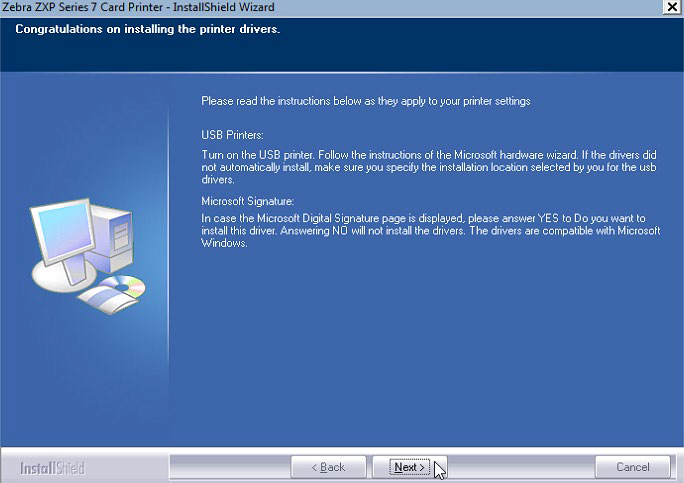
Install Zebra Printer

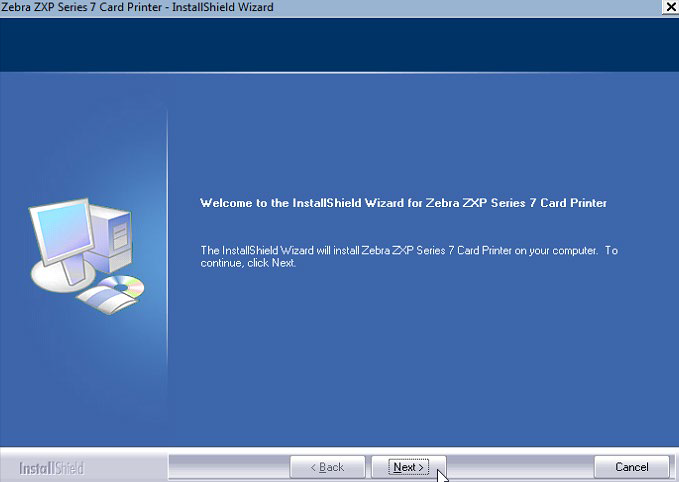
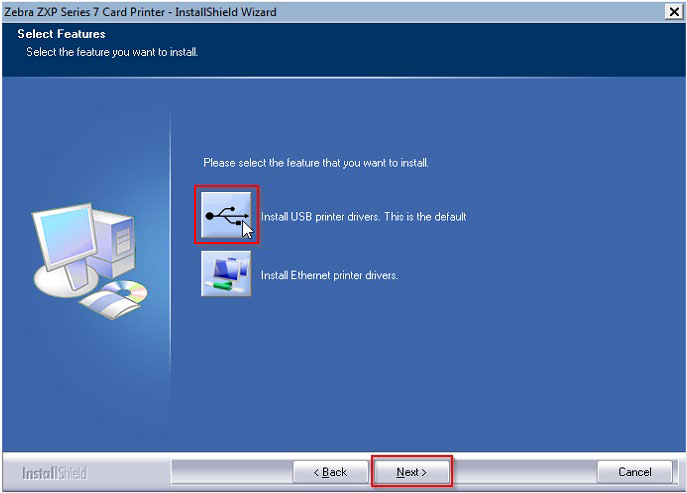

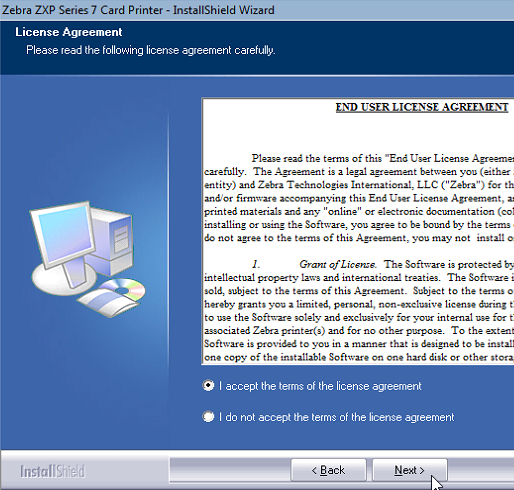
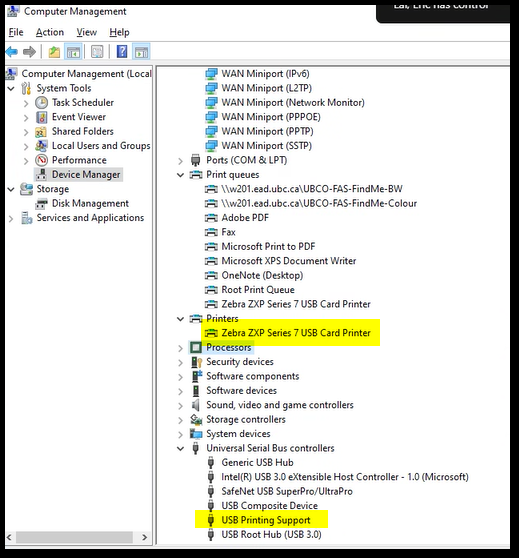
Article ID: 1248
Created On: Tue, Aug 15, 2023 at 9:25 AM
Last Updated On: Tue, Aug 15, 2023 at 9:25 AM
Authored by: Wayne Athersmith
Online URL: https://knowit.ok.ubc.ca/article/oracle-and-id-works-set-up-process-1248.html