1. Log in to the VPN normally per the instructions at How do I connect to VPN with Enhanced CWL.
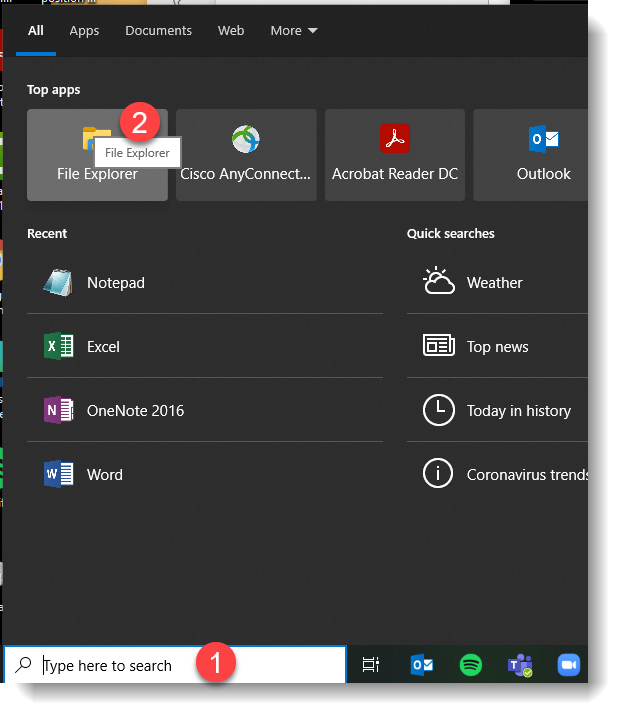
2. Open a Windows Explorer (File Explorer) window.
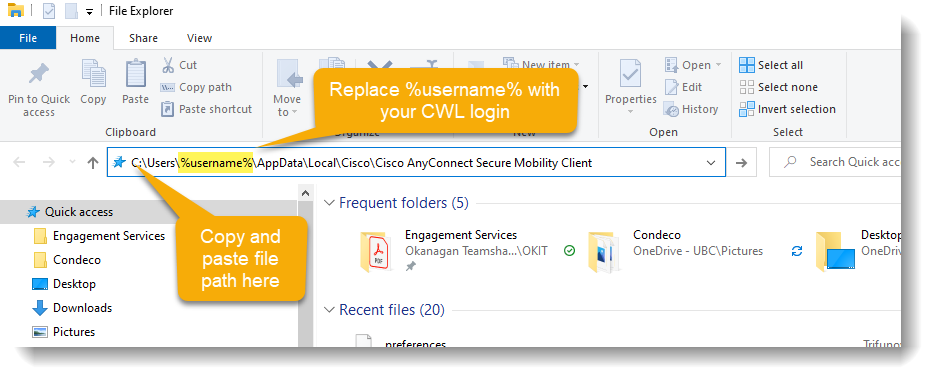
3. Copy this file path: C:\Users\%username%\AppData\Local\Cisco\Cisco AnyConnect Secure Mobility Client
or %USERPROFILE%AppData\Local\Cisco\Cisco AnyConnect Secure Mobility Client if not installed on a C: drive.
4. Paste the copied path into the Address Bar in Windows Explorer.
5. Press Enter.
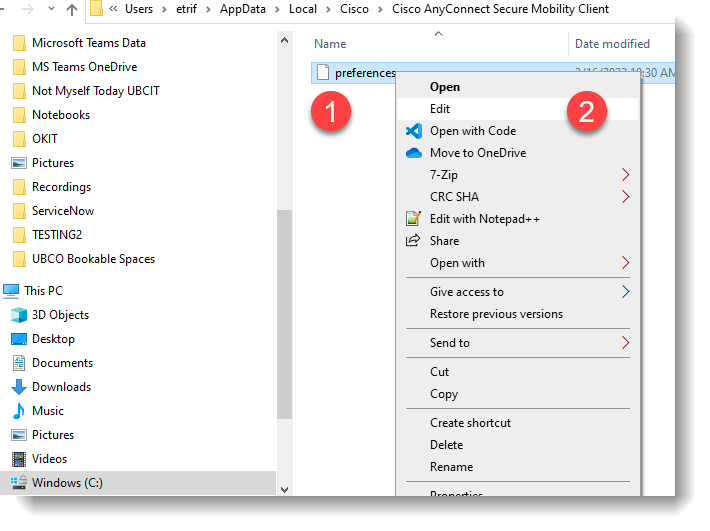
6. Right-click the preferences.xml file and select Edit.
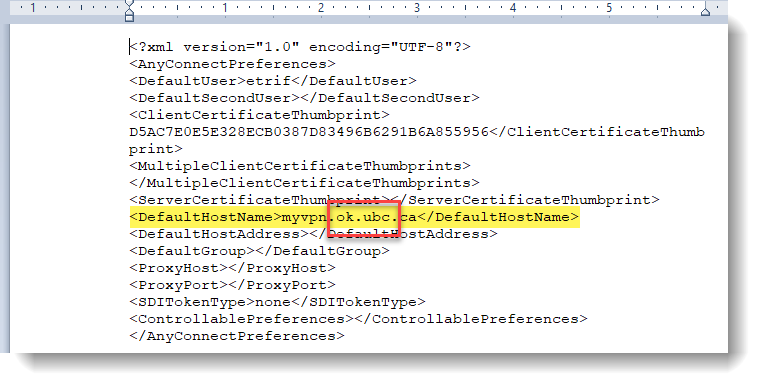
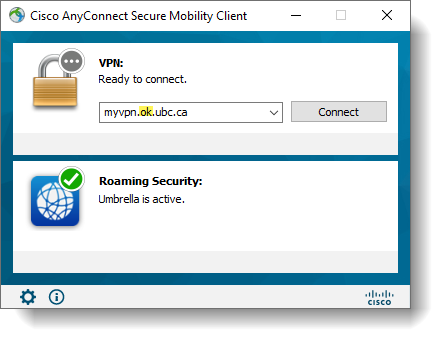
7. Edit the Default Host Name line (by default, this line reads <DefaultHostName></DefaultHostName>) to the following: <DefaultHostName>myvpn.ok.ubc.ca</DefaultHostName>
8. Click File > Save.
9. Quit the VPN client by right-clicking the Cisco AnyConnect icon in the system tray (left of the clock) and select Quit.

10. Re-open the Cisco AnyConnect client by selecting it from the Start Menu.
11. myvpn.ok.ubc.ca should automatically populate in the text box.
Article ID: 1130
Created On: Wed, Jun 2, 2021 at 9:24 AM
Last Updated On: Wed, Mar 16, 2022 at 10:48 AM
Authored by: Steven Holden
Online URL: https://knowit.ok.ubc.ca/article/change-the-default-server-for-cisco-anyconnect-1130.html